About this deal
Once your truss is in place, apply angle connectors to both sides of the bottom cord and install using Simpson’s 1/4” x1.5” strong-drive screws. Conclusion It’s essential to have a solid connection between a rafter and a top plate to ensure that your roof is stable. The gravitational forces on a roof cause the rafters to want to push outward. As such, it’s important to have rafters properly secured, so these forces don’t win out.
This notch allows the beam to rest flush onto the top plate. Is it necessary? While you may be tempted to avoid the admittedly tedious process of making birdsmouth cuts in each rafter, don’t do it.Do not install the ridge board to rafter connectors on the ends of the ridge beam yet – you will do this at the end. Make a Ridge Beam Brace
How many nails you should use depends on the size of the top plate. For a 2×4 top plate, use three toenails, alternating sides. For a 2×6 top plate, use five toenails, again alternating sides with each nail. At the top, where the rafters meet, they are either angled to meet at a point or attached to a horizontal ridge beam. A ridge beam runs the length of the shed roof, connecting every pair of rafters.If you look at the rafter span chart, you’ll notice that 2x4s can be used for rafters on spans up to 11 ½’. Anything beyond that you are looking at using 2x6s for most sheds. Tools and Materials Needed to Build Shed Rafters Tools In a traditional hip roof, the king rafter would be the same length as the common rafters you are using. However, since sheds take on all shapes and sizes, you should not take this rule as set in stone. The handiest tool in your toolbox for this job will be the speed square. You’ll notice that your speed square has regular measurements on one side and degrees on the other. You’ll also see that the end with degrees has a set of numbers, 1 – 24, just above it. If you’re looking for an option that creates a more secure connection than your standard toenailing, consider these twist straps from Simpson Strong-tie. These straps wrap around the joint between the truss and the top plate. The strap attaches to the underside of the top plate, then twists over top of the truss top chord, holding both firmly together. As with the rafter, make sure you drive the screw in at the point where the top plate and wall stud meet. To ensure a secure connection, make sure that the screw does penetrate all three pieces: top plate, bottom chord, and top chord. 4. Hurricane Tie
Each side of the gusset will be 8” long, but only 8” tall. Layout your sheet of plywood on sawhorses. Facing the long side of your material, measure down from the top edge 8”. Then draw a line across the width of the plywood from that mark. Use a circular saw or jigsaw to make the cut. As with rafter-style roofs, toenailing is one of the most common ways of attaching a truss-style roof to a wall plate. Toenail a truss into the top of the wall plate by nailing through the sides of the bottom chord at a 30-degree angle. Install these connectors where you’ve made your marks – this will save you tons of hassle later when you’ve got the whole assembly up.
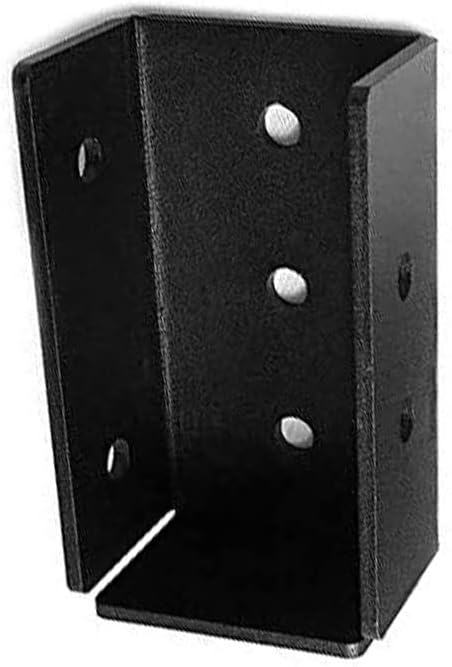
Installation Guidance for Infinity Galvanised Steel, Copper, and Zinc Guttering Top-Fix Rafter Brackets – for properties with no fascia board.
As an example, we’ll use a 10×8 foot shed, with the span being 8 feet. The process will generally be the same for a shed of any moderate size, but be sure to use the rafter sizing calculator above to find the correct rafter length and size for your shed rafter project. When determining what’s right for your roof, consider where you live and what weather conditions your building will need to withstand. Certainly, if you live in a coastal region that is subject to hurricane activity, you should use hurricane ties. How to Attach Rafters to Top Plate
Attaching the rest of the rafters requires you to merely line up your rafters in the connectors you’ve already installed. If you measured correctly, this is the easy part. I would suggest you install the rafters in pairs. If you do just one side, all the way down, then the ridge board can come loose or be distorted from all the hammering in the same direction. Attach End RaftersMany conventional roofing products, such as shingles, mandate a slope no lower than 2:12. More, they usually claim that 4:12 is the lowest you can go without any special underlayment. Our roof we will be constructing will be 4:12. Calculate the Length of Your Rafters
 Great Deal